Step 7 – Display the Cabinet in the Kitchen Planner
The final step is to display the base cabinet in the Kitchen Planner. This relies on a link between the catalog where the base cabinet is listed as product, and an application distribution.
There are three main types of kitchen application distributions:
- A type dedicated to Assembly Editor
- A type dedicated to the Template Editor
- A type dedicated to the Kitchen Planner
We will choose the third type to display our base cabinet.
Process in 3DCloud
The process starts in 3DCloud.
- Open the catalog in which the base cabinet is listed.
- Select a Kitchen type application distribution in the drop-down list.
- Click Save.
The base cabinet is now linked to the appropriate application distribution.
Insert in the Kitchen Planner
Connect to the Kitchen Planner and follow the process below:
- Click the Design your kitchen tab.
- Click the Search icon.
- Enter the name of your base cabinet in the search field.
- Press Enter to start the search.
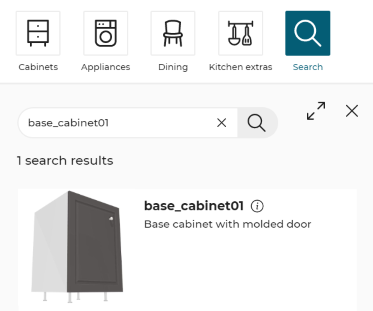
- Click the thumbnail to add the base cabinet to the kitchen.
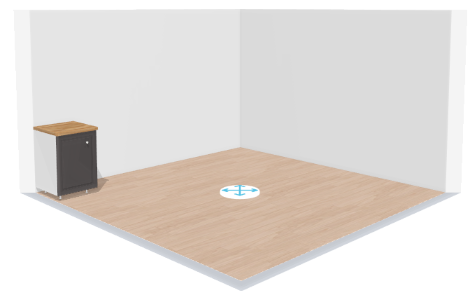
The cabinet is placed in a room and the worktop has been generated, as illustrated below:
Test the Behavior in the Kitchen Planner
Click the base cabinet in the room to display the following Edition menu.

📌 This menu displays information recovered from the 3DCloud datasheet: the name and the short description.
It also contains an Edit icon to make some modifications on the cabinet, and an Open icon to play the door animation.
Via the Edit icon, you can test the following customizations that we have prepared on the base cabinet:
| Prepared | Editable |
|---|---|
| The replacement of the handle The replacement of the worktop A choice between two door opening side A choice between two widths | 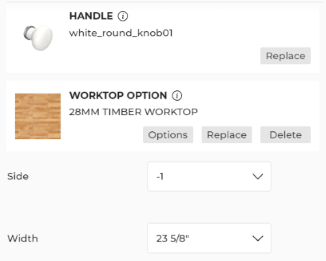 |
Replace the Handle
Click the Edit icon to edit the replacement of the handle.
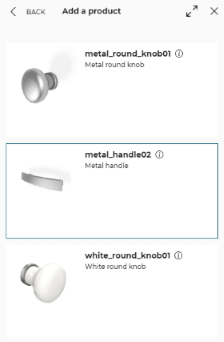
- Click Replace to access the list of possible handle.
- Click the thumbnail of the wished one, for example the metal handle.
- Choose Apply to the selected linear. The base cabinet has a new handle.
- Click Back to return to the change options.
Replace the Worktop
Click the Edit icon to edit the replacement of the worktop.
- Click Replace to access the list of possible worktops.
- Click the thumbnail of the wished one, for example a grey worktop.
- Choose Apply to the selected linear. The base cabinet has a new worktop.
- Click Back to return to the change options.
Change the Width
This option has been long prepared since Geometry Editor. It is now the time when you can test it.
Select 800 in the Width drop-down list to see the cabinet enlarge to 800 mm.
Door Opening Side and Animation
Select 1 in the Side drop-down list to change the opening side to the right.
Click the Open icon to play the kinematic and see the door opening.
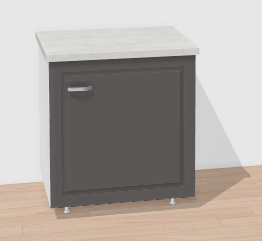
The base cabinet now looks different: