Set Up Suspension Rails
In the kitchen planner, every cabinets is provided with a suspension rail to ensure the wall mounting. The customer has the possibility to remove the suspension rail manually in the cabinet editor. Because a suspension rail impacts the number of legs used for a base cabinet adding or removing a rail must be considered carefully (see among others decorative legs 🔗 and plinths 🔗).
- On a wall cabinet a rail is added systematically and priced;
- On a base cabinet (whether with sink, cooktop or not) on a high (with oven or not) a suspension rail is added and priced only when the back side of the cabinet is in contact with the wall.
❗️ Even with the rail option enabled, it is possible to not have a 3D representation in the planner. Since this rail is on the back on the cabinet and not easily visible, it can be decided to not associate a 3D asset to the rail option. In this case, the rail item is created only for the correct price calculation and to meet the specification requirements.
➡️ Click here 🔗 to open the complete sample to define suspension rails through API.
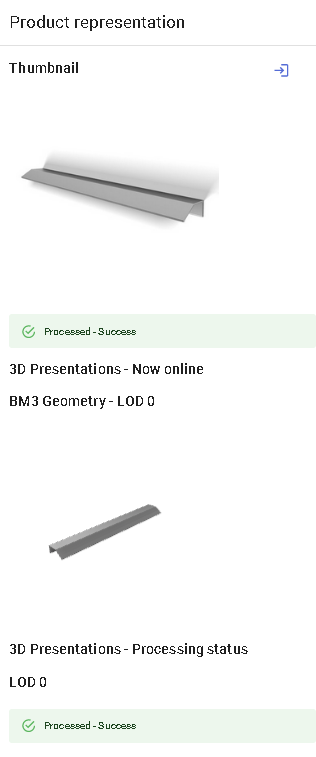
Illustration
On the illustration below, the suspensions rail is enabled (it can be replaced or deleted) but is not visible on the scene or as thumbnail.

Specify the Basic Information
The minimum information required to create a suspension rail is common to every kind of products.
This is:
- The name: The name will be displayed in the planner (in the Edit panel) and should be available for all languages. If not, the planner will display the name in the fallback language.
- Mandatory information: The product reference, the brand and the product type.
- Product information: This information is not mandatory but highly recommended, especially the short and long descriptions that are displayed in the planner.
- Product representation: This is where you specify among others the 3D resource, the thumbnail and the parameters.
- Pricing: This is where you specify the pricing type (regular, discount...).
❗️ Select your product type carefully because it will trigger the applicative rules: the type is "Railings".
Specify the 3D Resource and the Thumbnail
Note that for suspension rail a 3D asset is not mandatory. If you want to provide a 3D asset, it is recommended to use a scalable BM3 🔗.
The .BM3 file will also contain the dimensions of the 3D asset.
Click ![]() to specify the bitmap file that will be used as thumbnail in 3DCloud and in the planner.
Follow the format and size recommendations.
to specify the bitmap file that will be used as thumbnail in 3DCloud and in the planner.
Follow the format and size recommendations.
Specify the Dimension Parameters
| Parameter | Parameter type | Default value | Possible values |
|---|---|---|---|
width | Discrete length | 2000 | [0 ;∞] |
depth | Discrete length | 10 | [0 ;∞] |
height | Discrete length | 55 | [0 ;∞] |
Pricing
Like every product, suspension rails support different pricing 🔗 types: regular, reduced, membership, etc. on product mapped level (i.e. articles). Go to the Pricing panel to define the price(s).
They use the 'linearPercentageByItem' pricing method.
Parameters to Add at Upper Level
To activate the suspension rail behavior on a dedicated cabinet, especially the behavior that automatically disables the
rail when the base cabinet is not in contact with a wall, it is necessary to define a railOption parameter on the top
assembly.
In the possible values list of this parameter, just add:
- The suspension rail product external ID (it should belong to a catalog available on the current Legal Entity);
- 'null' to support the non-activation of the suspension rail.
| Parameter | Type | Possible values | Default value |
|---|---|---|---|
railOption | Product variation | External dbID | External dbID |
Applicative Rule
➡️ See also the applicative rule SuspensionRailFittingsRule 🔗 for calculation of extra fittings for suspension rails.