Set Up Openings (doors and windows)
In the kitchen planner, as a first start it is needed to define the room of the customer, the place where to set up the future kitchen with all corresponding constraints. If the definition of the size of the room and the design of walls is natively managed by the sketcher part of the planner the Range maintainer should provide different openings products to manage Doors (interior and exterior), Windows (fixed and movable) and sloping ceiling windows.
❗️ Because of the impact of openings in the design of the kitchen constraints (wall cutout, template constraints...), openings are in Byme platform defined by different mandatory parameters and behaviors listed here.
➡️ Click here to open the complete sample to define openings through API.
Definitions
| Term | Definitions |
|---|---|
| Openings | Dedicated type of product to define all products which can be used to detail the wall constraints of a customer kitchen. |
Illustrations
Below are illustrations of concepts regarding openings that are documented hereinafter. Because openings are used in sketcher step of the planner, these products need to be set up with a 3D visualization but also with a 2D resource to be visible from the 2D top view. This 2D resource is a svg file representing the opening in a cut view. The 3D asset can be as usual a BM3 or a BMA (if the range maintainer would like to add cinematics for example).
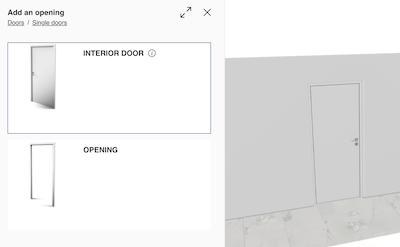
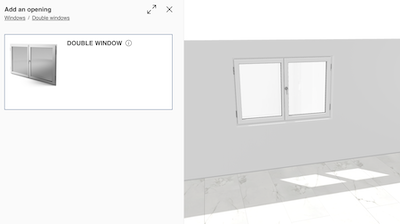
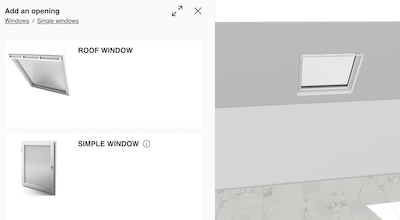
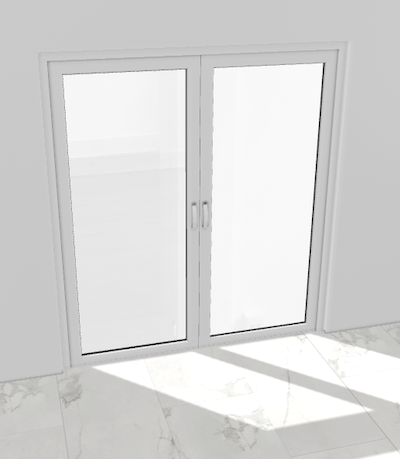
Regular openings
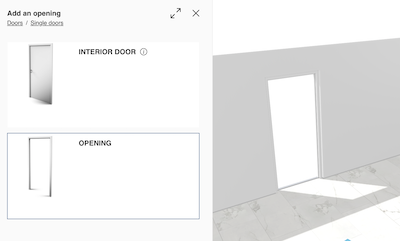
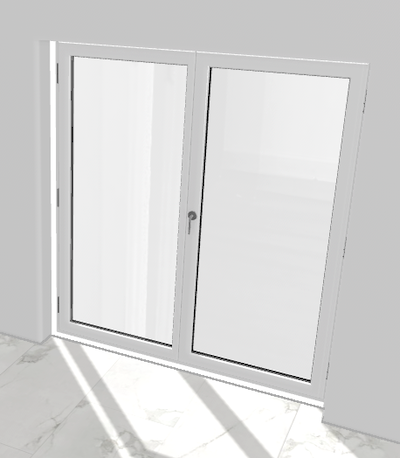
Regular doors
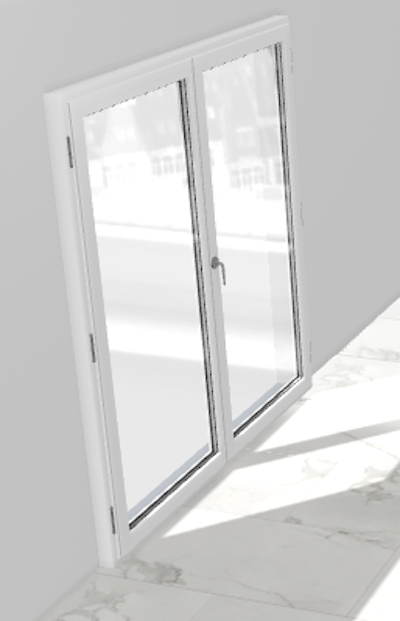
Windows
Sloping ceiling windows
Specify the Basic Information
As any product, openings need be to defined in 3DCloud.
Connect to 3DCloud and click Products on the CONTENT menu. Then, click New product.
The minimum information required to create a door or a window is common to every kind of products.
This is:
- The name: The name will be displayed in the planner (in the Edit panel) and should be available for all languages. If not, the planner will display the name in the fallback language.
- Mandatory information: The product reference, the brand and the product type.
- Product information: This information is not mandatory but highly recommended, especially the short and long descriptions that are displayed in the planner.
- Product representation: This is where you specify among others the 3D resource, the thumbnail and the parameters.
- Pricing: This is where you specify the pricing type (regular, discount...). Usually, openings are not priced but it is possible to do it.
❗️ Select your product type carefully because it will trigger the setup of 2D and 3D expected resources. Please refer to the list of compatible product types below.
Specify the product type
To be considered as an opening by the planner the product needs to be setup with a specific product type (typeId). Since the type is set up, the 2D representation becomes mandatory and some specific behaviors (like create a hole in the wall) are automatically assign to the product. Here is the list of types available for openings :
| Doors (ID) | Windows (ID) | Openings (ID) |
|---|---|---|
| Doubleinteriordoor (245) | Basementwindows (255) | Interioropenings (248) |
| Foldingdoors (307) | Baywindows (309) | Openings (273) |
| Frontdoors (240) | Doubleslidingwindows (254) | Skylights (257) |
| Garagedoors (249) | Doublewindows (252) | |
| Interiordoor (247) | Fixedwindows (256) | |
| Patiodoors (242) | Pushwindows (308) | |
| Screendoors (243) | Roofwindows (573) | |
| Securitydoors (241) | Simpleslidingwindows (253) | |
| Servicedoors (250) | Simplewindows (251) | |
| Simpleinteriordoors (244) | ||
| Slidingdoor (246) | ||
| Slidingpatiodoors (389) | ||
| Swingingpatiodoors (388) |
Specify the 2D Resource, 3D Resource and the Thumbnail
By default, an opening is defined by a 3D asset managed in Geometry Editor. The required resource is a .BM3 file compliant with the ByMe platform requirements.
The .BM3 file contains among others, the dimensions of the 3D asset and a smart scaling if one has been defined in Geometry Editor to enable product resizing in the planner.
In the product representation panel:
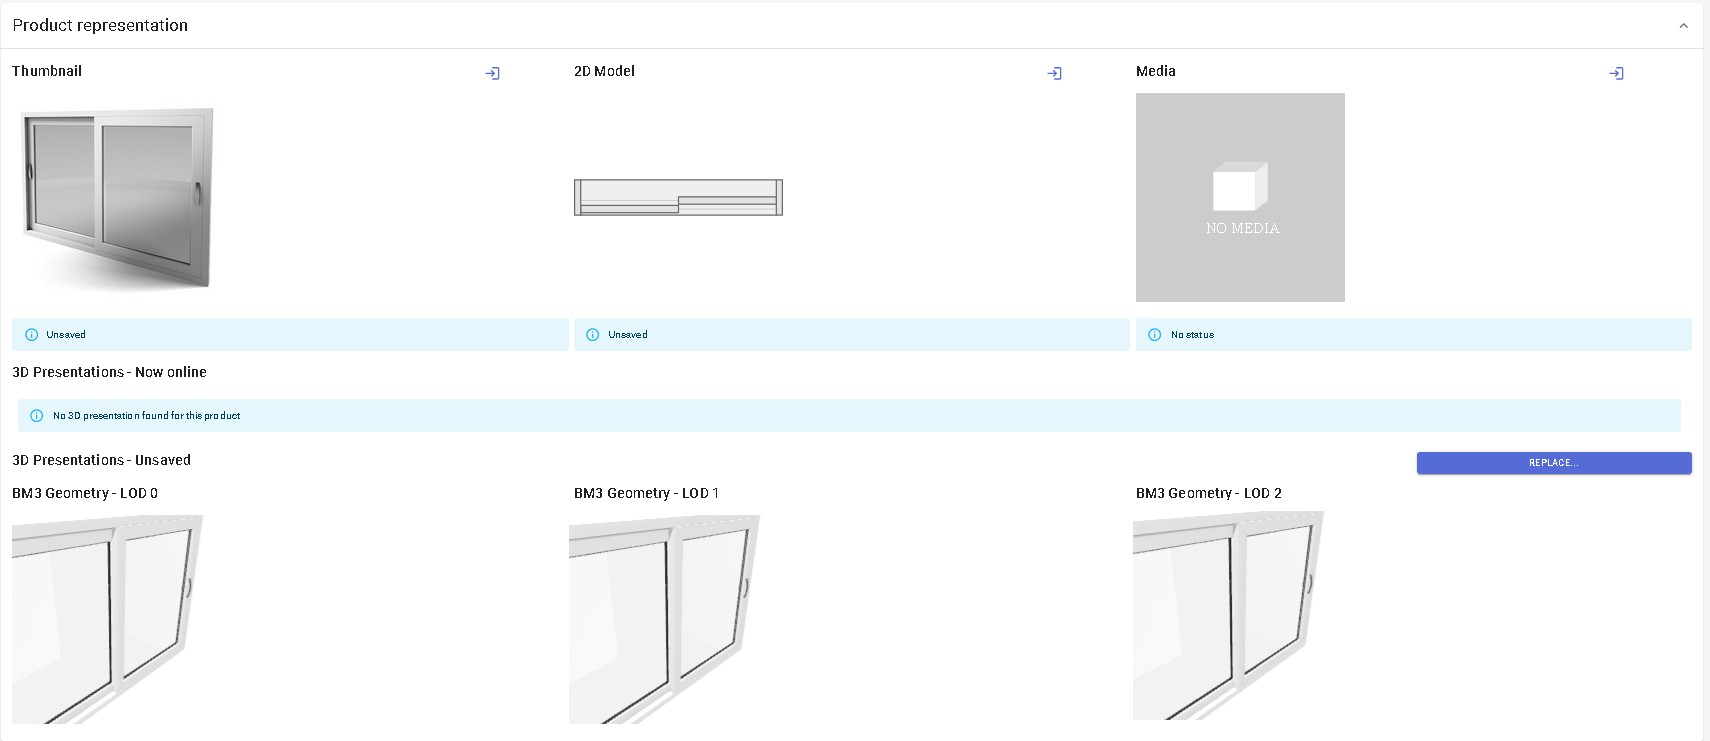
Click replace to browse for your .BM3 file and add it to the datasheet.
Click ![]() at the right of thumbnail to specify the bitmap file that will be used as
thumbnail in 3DCloud and in the planner. Follow the format and size recommendations.
at the right of thumbnail to specify the bitmap file that will be used as
thumbnail in 3DCloud and in the planner. Follow the format and size recommendations.
Even if not mandatory, it is possible to provide an assembly of the different parts of the door or the window by using a list of BM3s managed together in assembly editor. In this case, the required resource is a .BMA file compliant with the ByMe platform requirements. Then, all possible BMAs features are available like manage cinematics or product replacement.
Because of the both usage of openings in 3D and 2D view, it is also mandatory to provide a svg file to define the 2D representation of each product. This view will be automatically adapted to the wall thickness and will be the main way to edit the opening in the planner.
❗️ Although the dimensions of the svg is automatically managed to follow the size of the wall in the 2D view, this behavior does not impact the dimensions of the 3D asset. The 3D asset dimensions (BM3 or BMA) are driven by width, depth and height parameters of the product.
➡️ To be sure to respect the expected format, don't hesitate to use the default openings available in Byme platform.
Specify the Dimension Parameters
❗️ Although the dimensions of the asset are embedded in the .BM3 file they must be specified in 3DCloud to make it visible and editable by the customer. These parameters will be recovered in Assembly Editor if needed and are mandatory.
Click create parameter in the Parameter panel to define the width, the depth and the height of the opening.
| Parameter | Type | Possible values |
|---|---|---|
width | Discrete length | [0 ;∞] |
depth | Discrete length | [0 ;∞] |
height | Discrete length | [0 ;∞] |
Usually, depth of an opening is not modifiable by the customer, but it is possible to set up as visible and editable if needed.
Specify the Wall side and Opening side Parameters
Wall side
Wall side parameter able the customer to reverse the direction of the openings from the wall position. It is hardcoded
in the panel of each openings. Because of the hardcoded definition, there is nothing to do on range maintainer side.
 Opening side
Opening side Boolean parameter defines the direction of the opening. This parameter is manageable by the range
maintainer and is dedicated to the "one panel" openings. For example, it makes no sense to activate this parameter for a
double windows product because the direction is not modifiable.
| Parameter | Type | Possible values |
|---|---|---|
opening_side | Boolean | [TRUE; FALSE] |

Set up installation position Parameter
Linked to the type openings, there is a dedicated parameter defined in the planner code to define the relative position of the asset from the wall. By using this not mandatory parameter it is possible to precisely define if the door is fully outside the room (1) or fully inside the room (-1) or in an intermediate position (between -1 and 1). If missing, the value set up is the default (0) means that the opening is set up in the middle of the wall. This parameter is not visible and not modifiable for the customer.
❗️ Because used in the planner code, please respect the exact following name.
| Parameter | Type | Possible values |
|---|---|---|
installation_position | Continuous real | [-1; 1] |
installation_position = 0
 installation_position = -1 (inside the room)
 installation_position = 1 (outside the room)
Specify openings behaviors
To define completely an opening, it is necessary to also specify the behaviors in addition of the parameters. There are two behaviors to manage.
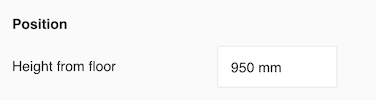
Height from floor
The "heightFromFloor" behavior, which corresponds to defaultAltitude key in API, and defines where the opening is placed
by default on z direction from the floor:
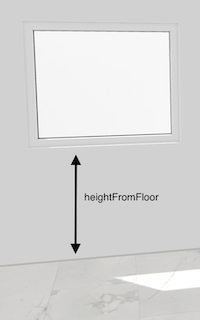
The expected value is in mm and the default value is 0.

For all openings, the "heightFromFloor" behavior is editable in the panel:
Target position
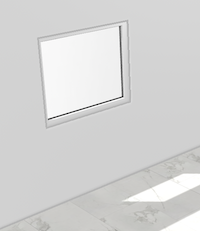
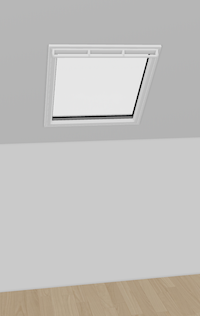
The "targetPosition" behavior defines a sub-type of the opening. The two possible values considered for openings are "
onWall" or "onSlopedWall" to distinguish the roof windows.
On wall for regular openings:
On sloped wall for roof windows:
❗️ Opening shape behavior is depreciated and will not be take in account by the planner. For now, the shape of the cut of the wall is define by the bounding box of the 3D asset.
➡️ Click here to open the complete definition of product behaviors.